Showing posts with label baby girl. Show all posts

Sunday, January 19, 2014

Dusty Rose Baby Shirt


The second iteration of McCall's 8473.  Can I just tell you briefly how completely in love I am with this pattern?  There are gathers, a peter pan collar...  It's just so damn cute.  Fortunately Baby Girl is a pretty good sport about being dressed up and photographed (so far).

The actual pattern
And she's so cute!  In pictures, especially, as she's much quieter in that form.  I had just a little bit of this brown fabric left after I made myself a button up shirt.  We have not had a chance to dress up in our matching shirts yet, but we will I'm sure.  The piping is a pink and white plaid I used on Baby Girl's Christmas stocking (oh no!  I just realized that one hasn't been blogged yet.  I'm working on it, promise!)


I didn't have enough of the brown or the pink to do matching pants, so this time it's just the shirt.  I used the same view because, well, basically because I love it.  I do want to try it with the poofy sleeves sometime, though.


The collar sort of sticks up oddly and I'm not sure why.  It's done the exact same way as the first one and I didn't have any problems with it.  Actually, now that I think of it that is a lie.  I couldn't find any interfacing when I was sewing this, so I just doubled up on the fabric on one side.  Maybe that's why we use interfacing... I think if I tack it down it will probably be ok.  Now I just need to work up the motivation to do so.


I'll admit that the back is an epic fail.  I forgot to make sure the hem lined up on either side... and then one button turned out to be sewn on just a little bit off.  In case you ever wondered why most button holes are vertical instead of horizontal: here's your answer!  Vertical button holes are infinitely more forgiving.  I have ripped off the offending button and not bothered to sew it back on.  After all, the hem will still be uneven.  Le sigh.


But that's ok, it's still too cute from the front!  Even with the wonky back and collar I still love how adorable she is in this.  That's two projects completed for small people this year, so far (actually, three: one you haven't seen yet!)


Thursday, June 27, 2013

Cute Calavera pajamas


Just the way pajamas should be: quick & dirty.  I mean, they were dirty pretty quick after I put them on her ;)


Actually I think these PJs were about the fastest make ever.  When I made my PJ top I cut off the sleeves of the original dress and just stuck one sleeve inside of the other right sides together (the same way you probably did when you made your PJ pants.  You did make PJ pants for the pajama party, right?).  Then I sewed the crotch seam.  A nice big semicircle with one side deeper than the other for the bum.  I cut out the excess fabric (again, just a big semicircle of fabric).  To finish them I turned over the top for a waistband and threaded some elastic through.


It's really simple, though I'm not sure those instructions made much sense without pictures.  If anybody would like a photo tutorial on this I do have some extra sleeves laying around and would be happy to throw something together.  Just let me know!


For the top I traced off one of her shirts.  The back piece I used as is, but for the front I cut off around empire waist level.  Then I cut a rectangle, gathered, and sewed the top bodice to the gathered rectangle.


I did not add seam allowances since the original shirt was pretty big but the shirt came out pretty snug so next time I'll make it a bit bigger.  


I didn't bother finishing the hem, neck, or armholes.  It doesn't seem to bother her any and it certainly doesn't bother me.


OMG how cute is that?  The sun!  It burns!


There's not really a whole lot else to say except I'm pretty jazzed with the results.  The happy skull pants are so cute, I love Dia de los Muertos stuff.


Again, just cute.


And those are little miss Baby Girl's new PJs.  These couldn't have taken more than 45 minutes at the most, so what are you waiting for?


Monday, April 1, 2013

Baby Girl Easter Dress

What would Easter be without the toke last minute must finish super cute baby girl dress?  Relaxing perhaps?  Even, dare I say it, easy?


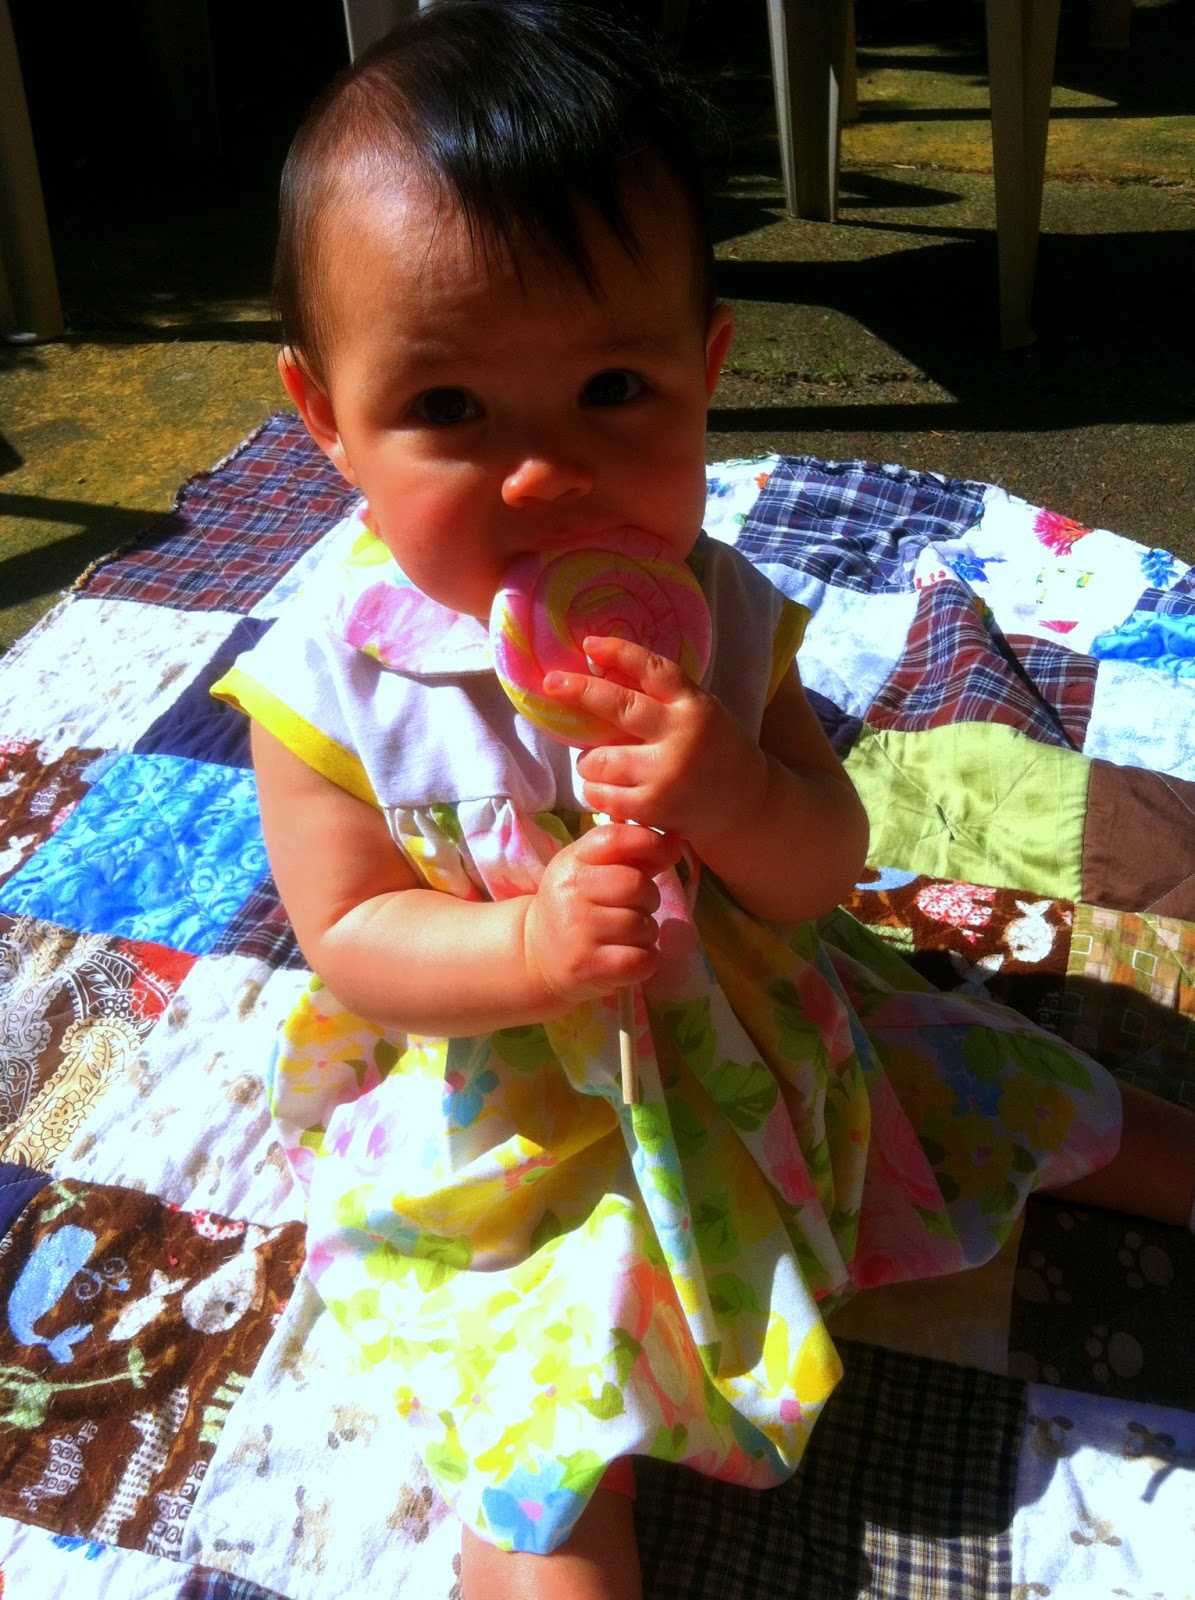
I wouldn't know obviously.  The day before (I thought) Easter I decided baby girl absolutely must have a cute little dress made by her mama.  The fact that I scored a bunch of vintage little girls patterns in just about her exact size really sealed the deal though.  I rushed all day Saturday to get this dress done and was on track when I was informed that Easter was actually the following Sunday.  Derp.  So I took my time, hand stitched down the hem and the lining (on the bus on the way to work!), and finished it punctually enough the day before Easter.  Was it worth it?  Not really.  She couldn't crawl effectively and she ruined the entire outfit (and her shoes) trying to eat lots of candy and crawl around on the patio.  Am I a better mother for this?  Doubtful.  Does she care at all about cute little dresses?  No, she'd much rather roam naked and wild and free.


But I can look back on these pictures in a few decades and gush because: soooooo much cuteness!!!  So maybe it was worth it after all...

Thursday, January 3, 2013

groovy baby (dress)


Hella groovy amiright?  I don't know where this crazy tie dyed pillow case came from, but if the original owner happens to be reading this: sorry, you're not gettin' it back.  

I used the same tee pattern I used for baby girl's Christmas PJ top but lengthened it to be more dress length.  Said pattern was made by tracing around an existing onesie and adding seam allowances (and a little bit of room to grow, you know how babies are).  I don't like to toot my own horn or anything (who? me?  never) but this pattern came out just right with no fuss. 

playing with her christmas butterfly
It's just one piece for the front and back.  I cut the front out using the pattern piece exactly and cut the neck about an inch higher for the back.  One piece for the sleeves (cut on the fold, none of that asymmetrical sleeve cap stuff here).  And a neckband cut out to 85 percent of the neck measurement.  It seriously took less than an hour to make this.  Me likey.


In the background here you can see the quilt.  Oh God, that quilt.  I'll write a post on that as soon as I get decent pictures of the whole thing.

I wanted to keep the hem of the pillowcase which made this project extra fast but that meant cutting everything off grain.  One thing I've found when repurposing knits is that they're almost always cut way off grain.  C'est la vie.  No big D this thing fits just fine and is so stinkin' cute anyway.

Final thoughts? Groovy

Friday, December 14, 2012

christmas bread and butter flies

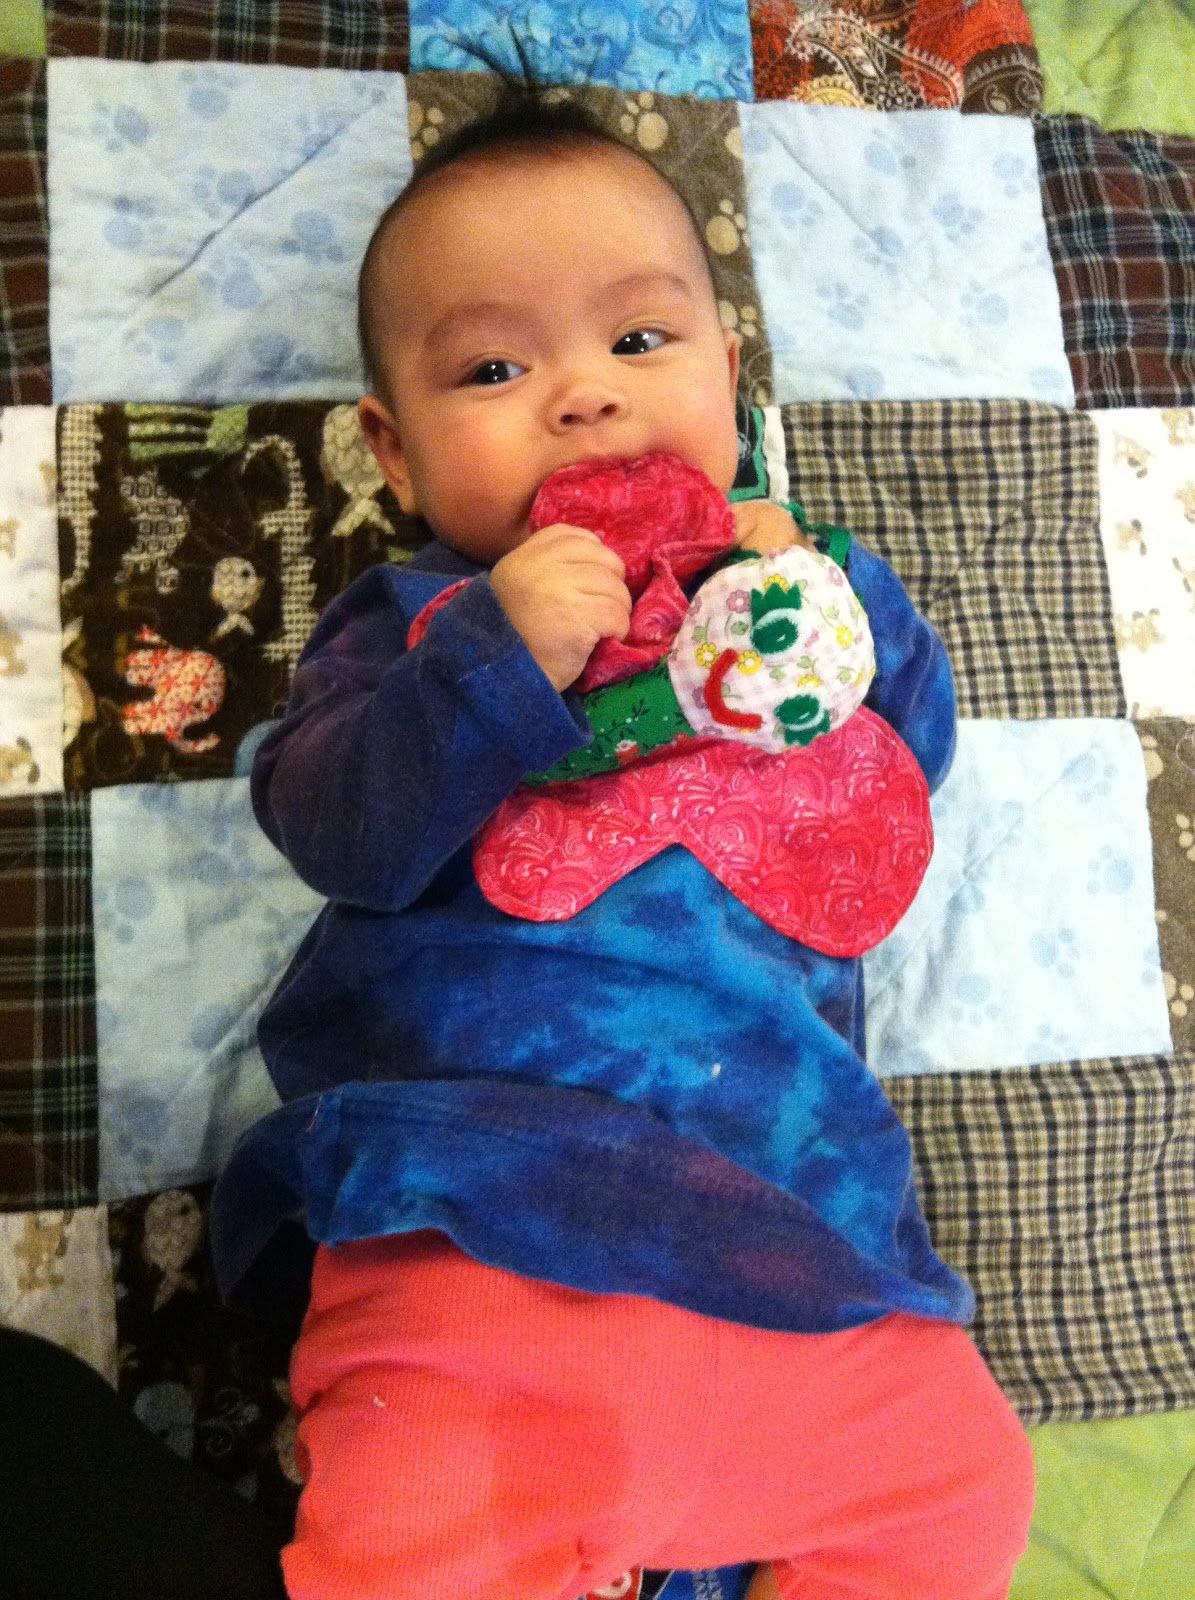
crinkly and sweet, almost good enough to eat


i followed the tutorial here pretty much to the letter except, duh, i accidentally cut the the first two wing pieces as pieces and not on the fold.  i just used the opening to stuff in the chip bag and hid it under the butterfly's body.  by the way some parts of the instructions i thought were pretty vague.  like sew butterfly to wings.  wtf?  don't even get me started on those felt faces.  hell.


how's that for a face only a mother could love?  well hopefully baby girl will love it too.  even if those red eyes are a bit demonic.  i only had red, green, and white felt.  walk to the fabric store for one piece of felt?  apparently not.


all materials were scraps though, so yay for free goods.