Sunday, August 26, 2012

striving for perfection

Or perhaps I'm still just cleansing my palate with another quickie.  Another Simplicity 9164 inspired peasant top, from the same material as a matter of fact.

First                                               Second
I don't know if you can really tell but I added some width to the sleeves and maybe the front (I can't recall) as well as adding some depth to the front top bodice (which I said I would).  I think it's better but next time I will take in the underbust area a bit so hopefully it'll look a bit nicer (and lay a bit more under bust instead of on it) and I think add some extra volume to the top bodice piece for more drape and gathers.

This is the end of this sheet, though (except for one other project yet to be blogged) so I'll be moving on to  other fabric for this pattern.  I ran out of thread, too and since there's no more sheet I couldn't bring myself to go buy thread just for the top stitching on this one shirt so I used light pink.  It's on all the hems, so at least it matches, but I imagine this is destined for the dye pot.  The first purple peasant top is actually already in there so pics of that when its dry (excitement)!

First                        Second

The back is pretty much the same but you can see the sleeves are more gathered on the second one.

Summary:
Fabric: The remains of an old top sheet
Notions: Some 1/4" elastic.  I bought 8 yards just a few weeks ago and I'm already almost out!
Techniques used: Nothing new unless you count fitting
Hours:  It's hard to say what with the nearly constant interruptions but a few?
Will you make this again? Absolutely.  I love the style and I see longer sleeves and better fit in the future
Total cost: Maybe $1 for elastic (that's assuming it used 2 yards which I doubt very much.
Final thoughts: I'm getting there with this pattern, but my first three are all wearable and that's encouraging even if they aren't perfect


With my little helpers (this is the second one)
By the way that makes two sheets that I've finished this week.  Yeah!  Look at me bustin' that stash.


Saturday, August 25, 2012

penguin diapers

After soooo many several days of working on the Luka Hoodie I needed a quick instant gratification project.  Oh, and I also need more diapers.  So today I whipped up 6 cloth prefold diapers.  I've been using the tutorial here but I've made some changes so here's how I do it.

First I cut the outer pieces and the soaker pad.  I forgot to get a picture of the outer but it's just a rectangle that's 25 x 15 inches.  The soaker pad is the same idea but it's 5 x 14 inches.  

Soaker pads
Obviously I used the leftover flannel I used to line the Luka Hoodie.  Since it's a pretty thin flannel I used 4 pieces for each soaker pad.  (Actually several of the diapers have old dish towels surrounded by some leftover jersey from this top).  The great news about this is that that sheet is pretty well done.  I'm making an effort to actually work through some of my stash so 1 sheet down!

Zig zag around the edges to prevent fraying and keep the layers together.
I only zig zag about 3/8" from the edge at the most and then trim close to the stitches. 


Fold the outer in half with short sides and right sides together.  Place the soaker pad on top of the open (short) edges, centered between top and bottom (long) edges.

A picture worth a thousand words
Sew along this edge about 1/2" from the edge.


Rearrange so that the soaker pad is in the center of the outer and press.


Now you'll be sewing the long edges closed.  Be sure to leave about 1/3 of one side open on the same side as the seam.  This will make it easier to insert a point turner when you flip the diaper inside out.

Do not sew down the edges of the soaker pad but keep your stitches close: about 1/4" away is just fine.


 It should look like this.  Note that the upper right corner is where our hole is.  Reach in and grab the opposite corner...


To flip the diaper inside out.  I use a yardstick, shoving it through the hole and into the corners like a point turner.  Not elegant by any means but it gets the job done.


Press flat making sure to turn the raw open edges under.  I like to use two pins on each side to secure the soaker pad in place.  Sew down the edge where the hole is; be sure to catch those open edges as well as the edges of the soaker.  I usually end up sewing about 1/4" or a little bit more from the edge.  Then sew down the other side, once again being sure to stitch down the edges of the soaker pad through the outer.


Finally sew down the long edges of the soaker pad.  You should be able to feel the edge and if you pull taught you can see where it ends.  I sew about 1/4" from the edge.


Sew down the other edge stitching in the ditch.  While I whip these diapers up pretty quickly without pinning or fussing I do find this is a good opportunity to practice this technique.


Et voila!  C'est magnifique.  At least as magnifique as a diaper is liable to get =)


So there you are: 6 diapers for $2.50

I highly recommend flannel for the diapers, but really any soft, absorbent natural fibers will do.  The same goes for the soaker pads; I usually use old hand towels and jersey scraps.  Now all you need are some diaper covers!

Friday, August 24, 2012

so you think you can sew?

I did... and how wrong I was.


Meet the Luka Hoodie, from Sewing for Boys of course.  I probably wouldn't have thought to tackle this pattern if not for Boy oh Boy's sew-a-long.  Not because it's rated as an advanced pattern and I consider myself an adventurous beginner, but just because I didn't love the sample.

Now I don't normally put a lot (or any) stock in those "difficulty ratings" you find on patterns for sewing or knitting or anything really.  After all if you just take things one step at a time nothing is really that hard; it's all variations on the same thing.  That's what makes me an adventurous beginner (I don't consider myself an absolute beginner, but I've only been sewing since April so haven't felt that move to intermediate yet... though this jacket may be that stepping stone haha).


The pattern is written to use two contrasting colors, but not piping. Since I wanted to use one print for the whole jacket I thought I'd use piping to accentuate the cool details: raglan sleeves, pockets.

Of course I've never actually used piping before.  Can you see where this is going?


Yeah.  Not only did I want to use piping but I felt the need to make my own piping.  I feel like the sewing blogosphere gave me the (blatantly untrue) idea that adding (your own homemade) piping is easy.

Maybe that's a lie and I'm just hella cocky.  I'm not sure.  While this jacket has been lovingly dubbed amongst my family as "the jacket that almost killed me" and even though everything that could've gone wrong did, and even though it's got some glaring fuglies that I just can't bear to fix... I'm pretty excited.


It's soft, warm, cuddly, and it looks pretty good.  I made the 4/5 with some extra length for my 3 year old.  I'm glad I went with that size because it fits him bearably this year and maybe it will even see some wear next year.


And he likes it!  He doesn't like anything right now but I put this hoodie on him and you could actually see him start to cry and pull it off but then change his mind.  He hasn't even wanted to wear his store bought jackets for the past year.


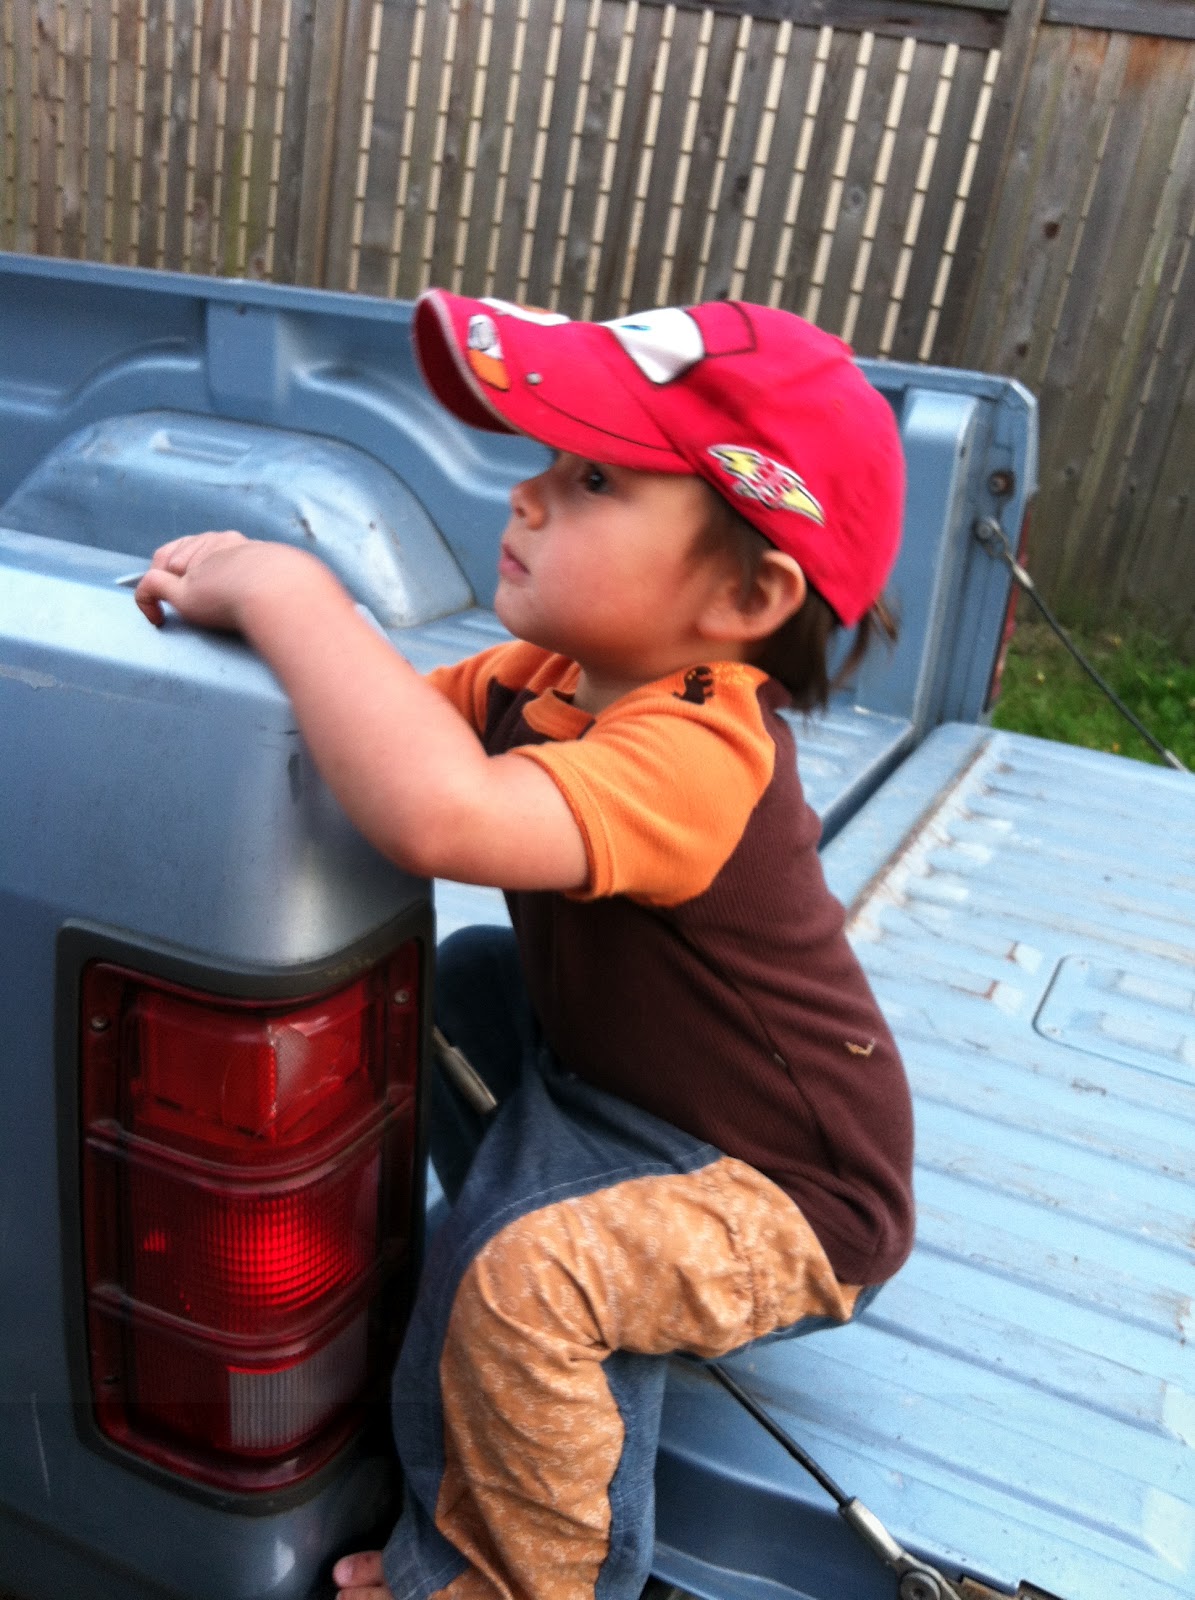
His favorite part, of course, is the secret pocket.  Brilliant.  That's what you saw here and yeah, there's a big effing problem with this...


The problem with adding piping to a pattern that doesn't call for it?  You can't follow the same order of construction.  Or even method, in this case.  The top of that pocket should be prettily hidden beneath the top front of the jacket, but instead I had to top stitch it.  Of course, by the time I got to that point I forgot the fact that those diagonals are the other pockets and sewed the whole damn thing down, then had to go back and rip.


The outer fabric is a top sheet with a great animal print I found at the thrift for a whopping $5.  The lining is a penguin print flannel sheet that was also $5.  While I normally wouldn't spend so much on sheets when I have such a wide assortment of fabric already I didn't have anything that was fun, boyish, or flannel in stash.

I only used about half of each sheet, though, so there will be a matching backpack (hopefully).  I also found some self cover buttons for $2 of which I used 3 out of 7.  That brings the total cost of this hoodie to a whopping $6 (only counting half the sheets since I only used half).


Now that it's finished and it's on I don't think that the horrible glaring errors are all that noticeable, but I'd like to share anyway.  I like to think I'm normally less slapdash but I just wanted to finish this project before it killed me.  

Overdramatic much?  Yeah.

A lot of the problems could've been fixed but my lining fabric is too cheap and flimsy to hold up to a stitch ripper.  Some spots I tried to fix ended up with ugly holes.

Self cover buttons are hard and mine are poorly executed so I imagine I'll have some fraying

I added a placket under the buttons to keep the wind out but wasn't thinking too clearly (or planning ahead) and ended up having to cut the lining a little bit to make it functional.  Fortunately there was already a huge hole there between the lining and the outside  (inexplicably?) so I just kinda stitched it all down at the same time...  We'll see if it holds.

The button loops are backwards (just believe me) but I can't see undoing all that stitching

And just a word of advice: when it says make sure the sleeves don't get twisted, take it to heart.  I don't know what I did but I had a big jacket pretzel that was totally impossible to turn right side out.  You know those crazy brain teasers toys?  Like that.  I ended up cutting off the seam and finishing the sleeves like the bottom hem.  I lost some length, but fortunately I had added some length so they're just right.


Rooting around in the secret pocket
Summary:
Fabric: Half of two queen size sheets (so one total?) and one fat quarter for the piping
Notions: 3 self cover buttons
Techniques used: Piping, my God, piping.  And covering buttons
Hours: I think days would be a more accurate assessment: 5 days total, a few hours a day (at most and never uninterrupted).  Let's say 15 hours.  It seems like so many more though. 
Will you make this again? Almost certainly; it's a great pattern.  Piping is not likely to make an appearance though
Total cost: $8 for half of two sheets, half a pack of buttons, and one fat quarter
Final thoughts: I want one of these!  It looks so comfy.

Thursday, August 23, 2012

wip wednesday

who decides what's hard?

is steeking hard?  what about buttonholes?  or cables or lace or sewing knits or or or....

you see where i'm going with this.  i think a lot of the time people think something is hard just because they've heard it is.  things may seem intimidating or be difficult the first time you tackle them, but i always find when i finish a project using a new technique by the time i'm finished i don't feel like it's hard, per se.  a pain in the arse perhaps, but not hard.

on the other hand, is piping hard?  


i'm gonna go with maybe...


see this?  this is a problem.  there's a hiccup i hadn't forseen due to the placement of the piping since i have no idea what i'm doing...

ahem...

at this point i'm just hoping it's all gonna work out.  i find i almost always get this mid-project panic where i realize that i'm doing everything wrong, my color or pattern choices are terrible, and basically the project is probably not worth finishing.  that's where i am with this project. 

i figure that even if it does end up just being awful at least i learned to make and sew on piping?  after all if you can't laugh you just have to cry right?


Wednesday, August 22, 2012

treasure pocket pants


Still rudely referred to by my father as the brokeback mountain pants... That's not actually what he calls them but it's a more PC version of it.  I think it's because the colors with this pattern are reminiscent of chaps.

Then the first time I put them on the boy to model all he would do is hide.  This is the only pic I got before he ducked under the chair and wouldn't come out.  I think hubby's uncontrollable laughter could've been to blame for that.


After spending weeks (maybe even months?) in the pile of shame I decided to give them a second try.  Actually it was when we were moving and there were no clean clothes because due to circumstances out of my control we were without a washer for a week or two.


It turns out we (the boy and I) like these pants.  They seem very comfy; the fabric is thin and soft from an old worn out pair of my hubby's jeans.  Obviously they're perfect for climbing.


More to the point (as far as the pattern's concerned) those pants are awesome!  They actually hold all the small toys he carries around constantly.  Well, not all of them, but at least as many as he has with him at any given time.  Plus the elastic helps keep them there.


I don't think these will replace the little heartbreaker pants as my absolute favorite, but they're different.  These are more casual for kicking around the house and playing barefoot in the yard.  The LHB pants are dressier.  Even a casual outfit looks fancier with those little pleats.


The verdict: I will make these pants again.  One of the biggest advantages I think they have is that they take smaller widths of material so they're easier to use old pants for.  I want to make a lower contrast pair that have the appearance of regular jeans.


He loves playing in the truck.  And eating dirt.  And being barefoot.  Oh well...  You can't fight entropy ... or boys...

On a completely unrelated note: don't eat your brother baby.


Tuesday, August 21, 2012

mending monday: holes in jeans

i have a perpetual pile of clothes in need of mending.  i don't know if it's because i'm so hard on my clothes or because i hang on to them forever.

despite the excessive amount of time i spend trying to sew between diapers, feedings, and toddler meltdowns i never seem to get around to my mending pile.

mending jeans
said mending pile resides in my sewing room and now that i have a smaller sewing room and the pile is overflowing it's bin i see it's time to take action.  obviously i kind of hate mending, darning, and the like so i am making a pledge.  i will mend one item each week until the pile is gone (if that is, indeed, even possible) and because i love a good alliteration (awesome alliteration?) and need to stop being such a procrastinator (pernicious procrastinator? prodigious procrastinator??)  i'll try and get it done on mondays.

as such, for the inaugural mending monday i'll tackle something i hate doing but always need to do: mending holes in jeans (thighs not knees).  i bought these jeans in 2004 (which makes them 8 years old!) back when low rise/hip hugger flares were still in style.  <that sentence makes me feel so old>.  and they've already seen their share of mending.  the thighs have already been darned once, which extended their life by many wears already.  now the whole area around the darning is worn out, though, so it's time for some reinforcing.


i like to back the worn area with some stable knit fabric.  assuming the jeans have some elastane in them you don't want them stretching when the patch isn't or you'll likely end up ripping them.  i try and keep the color similar, but i use whatever i have on hand.

trim the fabric down to be just a bit bigger than the worn area.  a smaller seam allowance won't last as long but will be less visible so it really comes down to the size and area of the hole how big an sa you can get away with.


pin and zig zag around the edges of the patch, pivoting at the corners.

zig zag
you can see the stitching around the holes
while the next step isn't strictly necessary i believe it extends the life of the patch.  with the right side of the jeans up zig zag over the most worn area (in this case where there is undeniably a hole) zig zag back and forth pivoting to turn at the edges.  be careful not to get those loose strands caught in the foot.


 these jeans are terribly threadbare, and what else can you expect from 8 year old jeans that cost $5 at target on clearance.  really that's less than a dollar a year which is a steal if you think about it.  i'd probably throw them out but they're just so comfy.  that and they take me back.  you know, back in the day when this outfit would actually have been in style hah!

the stitching is actually pretty hard to see unless i stand funny like this:


 and why did i only have 4 pins to use on this?  every other pin i used was in this:

pinned piping; it's all sewn now

after an epic two day struggle i finally have piping.  i'm pretty much a piping noob but i want to use this piping with the fabric below for the luka hoodie from sewing for boys.  we'll see how it goes...